If your garage feels more like a tool jungle than a workspace, you’re not alone. Wrenches in one corner, drill bits in another—weekend projects can quickly turn into treasure hunts. The good news? Learning how to organize tools in your garage doesn’t require expensive systems or professional help. With a few smart DIY ideas, you can build a tool storage setup that keeps everything in reach and makes your next project smoother. Let’s roll up our sleeves and get your garage in order.
1. Start by Sorting Your Tools Lay out every tool you own and group them by type: screwdrivers, wrenches, pliers, drills, etc. This helps you see what you actually use, find duplicates, and decide how much space each group needs.
2. Declutter Tools You Never Use Be honest—are you hanging onto five rusty screwdrivers? Get rid of broken tools and donate duplicates. Keeping only what you use will free up space and make organizing simpler.
3. Choose the Right Space Dedicate one wall or zone in your garage as your main tool area, or a tall cabinet in your utility room. Keeping tools in one location makes projects faster and cleanup easier.
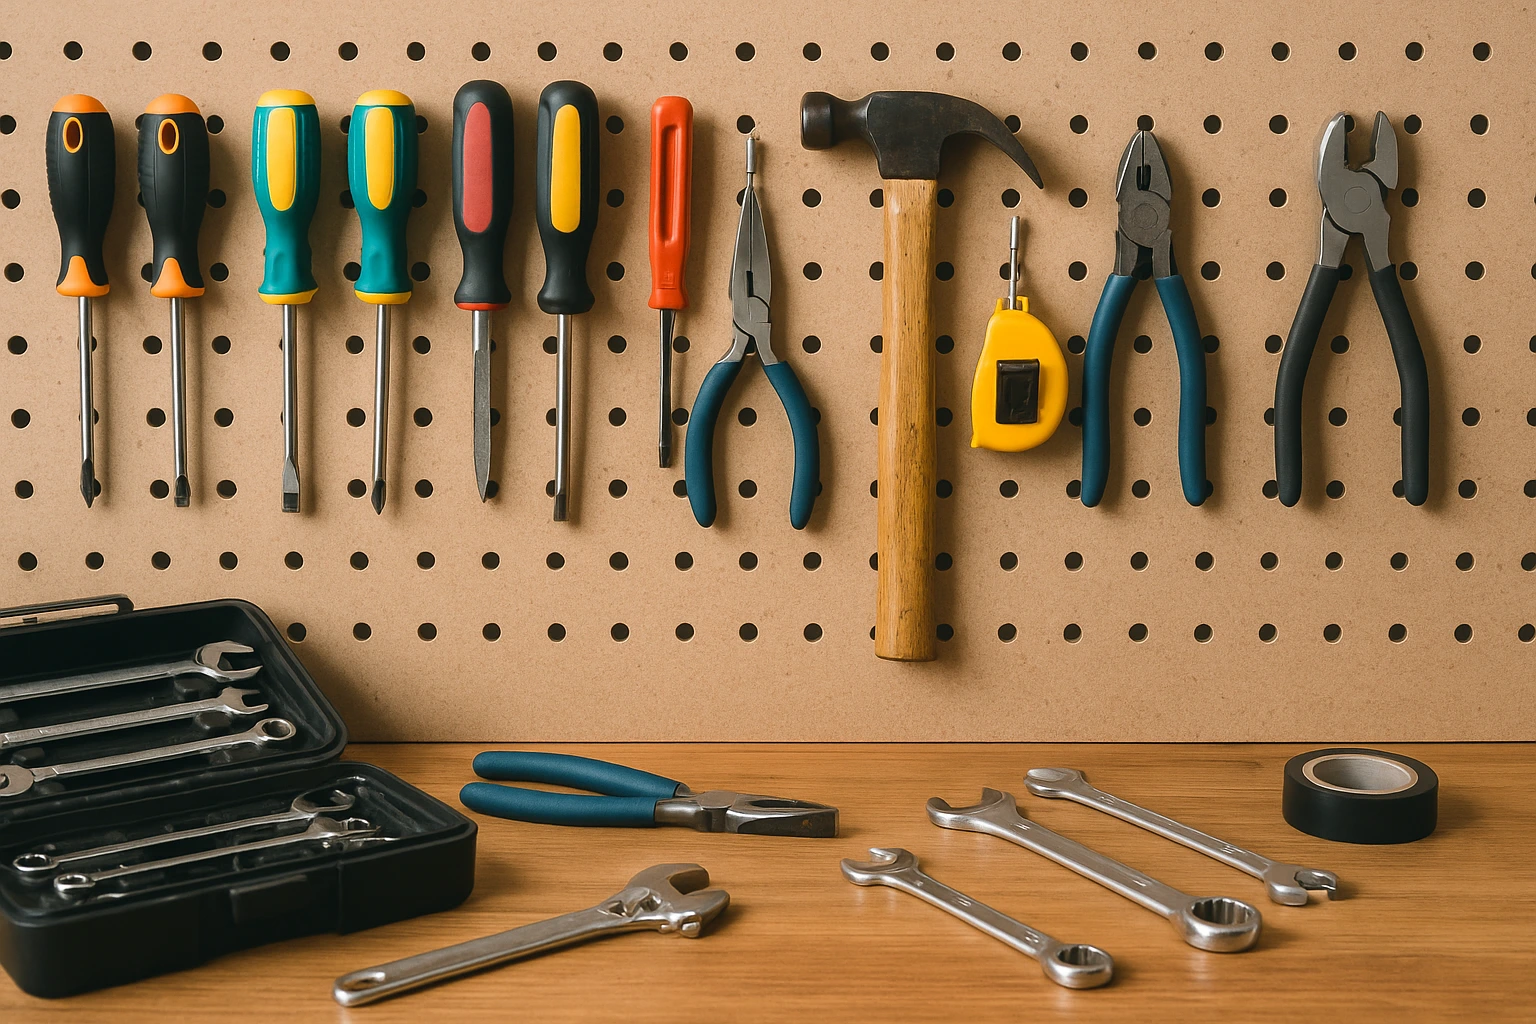
4. Use a Pegboard for Visibility Mount a pegboard on the wall and hang your most-used tools. Outline the shapes with a marker so each tool has a designated spot. It looks clean, and you’ll immediately notice when something’s missing.
5. Repurpose a Drawer Unit or Cabinet Use a repurposed dresser, filing cabinet, or set of drawers to store small tools, measuring tapes, or safety gear. Label each drawer for quick access.
6. Add Magnetic Strips for Metal Tools Install a magnetic strip on the wall or inside a cabinet door to hold screwdrivers, drill bits, or wrenches. It saves space and keeps tools visible.
7. Use Clear Bins or Labeled Boxes Store bulkier or less-used tools in stackable bins with labels. For example: “Plumbing,” “Car Tools,” or “Painting Supplies.” Clear bins let you see what’s inside without digging.
8. Install a Wall-Mounted Tool Rack or Rail A mounted rail with hooks or clamps is great for storing long-handled tools like brooms, rakes, or extension cords. It keeps floors clear and tools easy to grab.
9. Keep a “Grab-and-Go” Caddy Create a small caddy or toolbox with your top 5–10 frequently used items—like a hammer, screwdriver, tape measure, and utility knife. When you’re working on a quick fix, you can grab and go.
10. Create a Maintenance Station Dedicate a shelf or bin to tool maintenance supplies like oil, rags, batteries, and manuals. Keeping them in one spot saves time and extends the life of your tools.
11. Label Everything Clearly Label hooks, bins, drawers, and shelves. This helps you remember where things go and encourages others (family or housemates) to put tools back in the right place.
12. Reevaluate Every Few Months Your tool needs might change over time. Every few months, do a quick check to reorganize, toss worn-out items, and adjust your system based on how you actually use it.
A messy garage can make even small repairs feel overwhelming—but a clear, organized tool setup turns it into a place you actually enjoy using. Now that you’ve learned how to organize tools in your garage using simple DIY solutions, you’re ready to tackle weekend projects without the stress. Start small, keep it functional, and your tools will always be where you need them.
Explore more organizing strategies in our Tools & Garage tips archive.